Step 1. Please register a Gate account on the Gate App or the official website and complete KYB verification.
This account will also be used for merchant fund deposits and withdrawals.
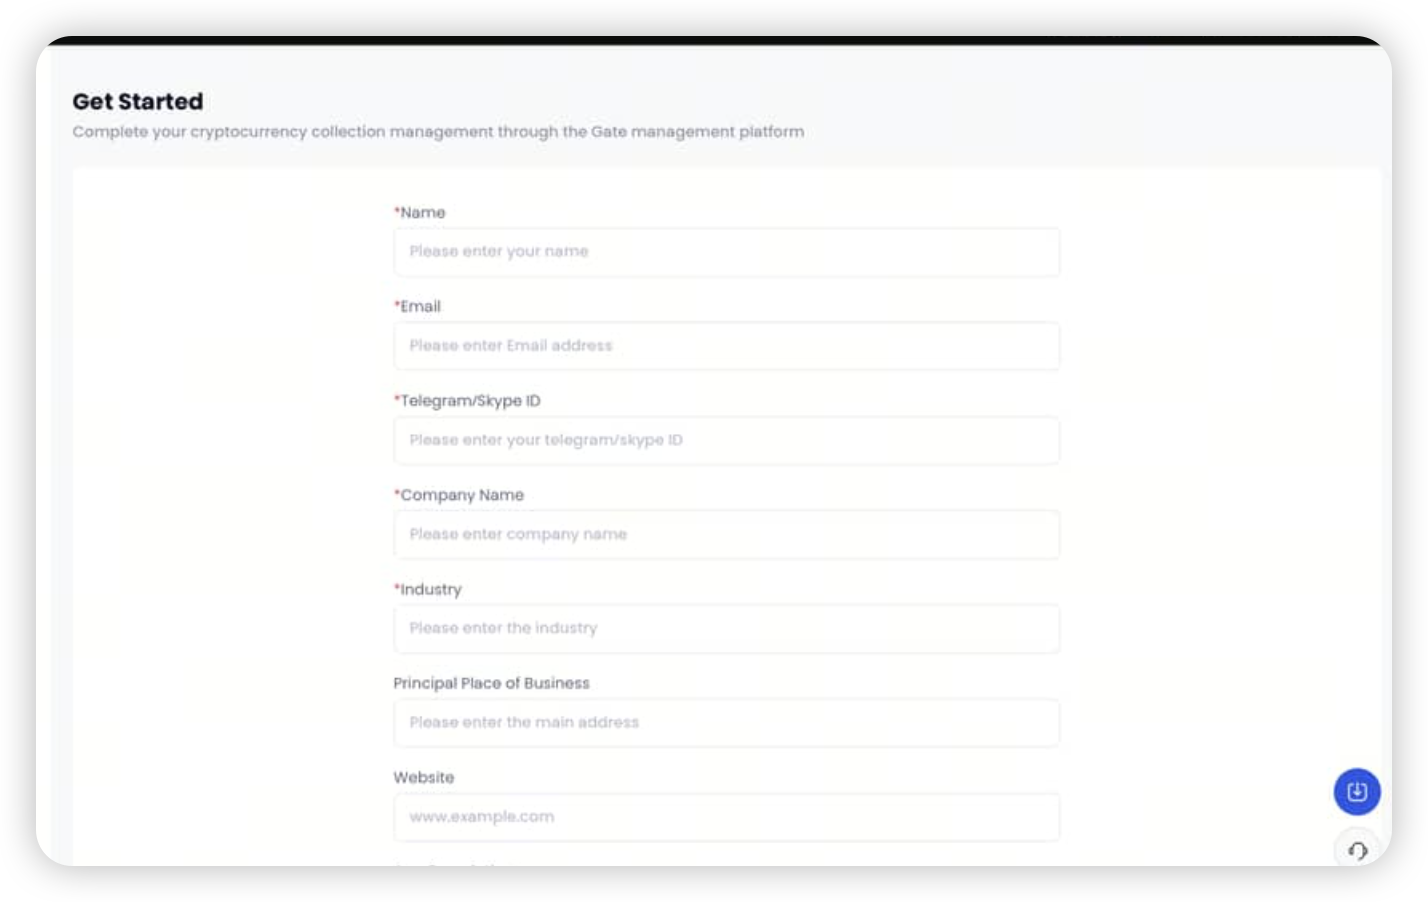
Step 2. Use the Gate UID obtained in Step 1 to register for the Merchant Dashboard here: **https://www.gate.com/pay-merchant.
Fill in all required information to complete registration.
Step 3. Generate Keys and Client IDs:
(You must generate: Authorization Key and Client ID1, Payment Key and Client ID2.)
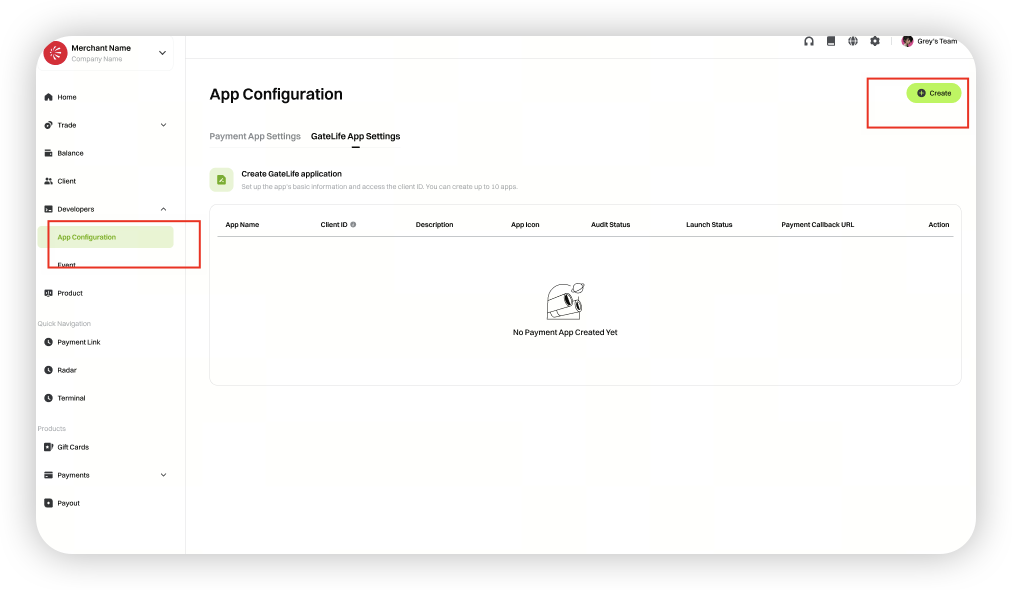
In the merchant system, go to [Developer Center] → [App Configuration], select Gate Life App Configuration / Payment App Configuration, and click [Create Now].
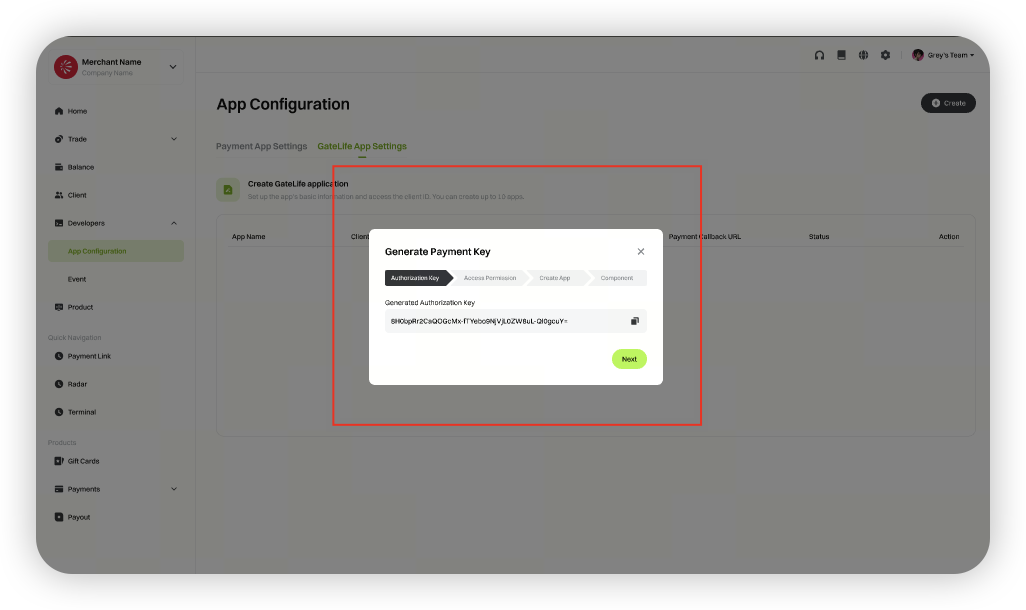
Click [Generate Authorization Key].
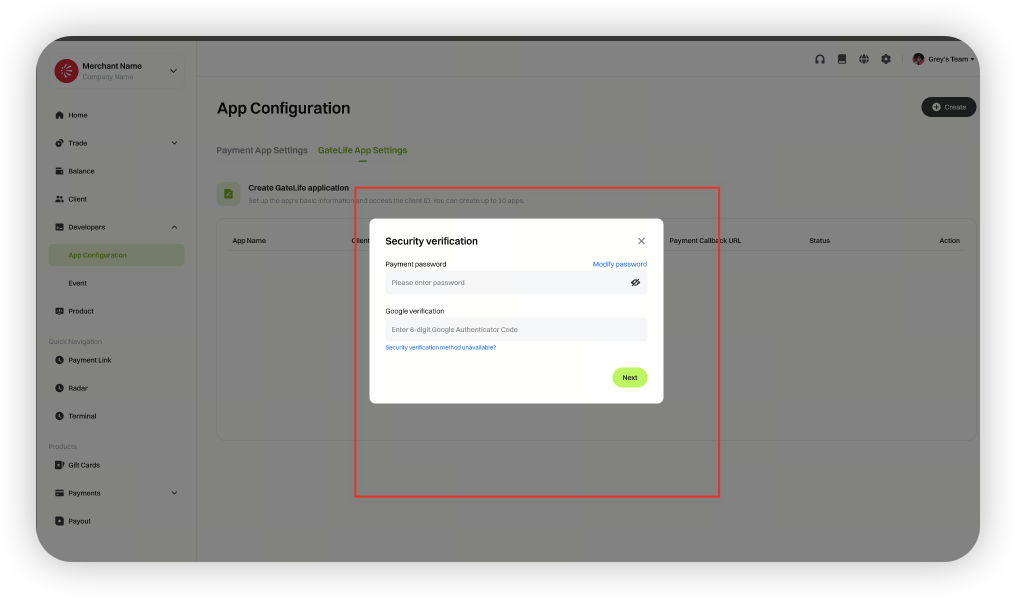
 **Complete security verification to generate the key.**
The key is generated only once—please save it immediately and keep it confidential.
**Complete security verification to generate the key.**
The key is generated only once—please save it immediately and keep it confidential.
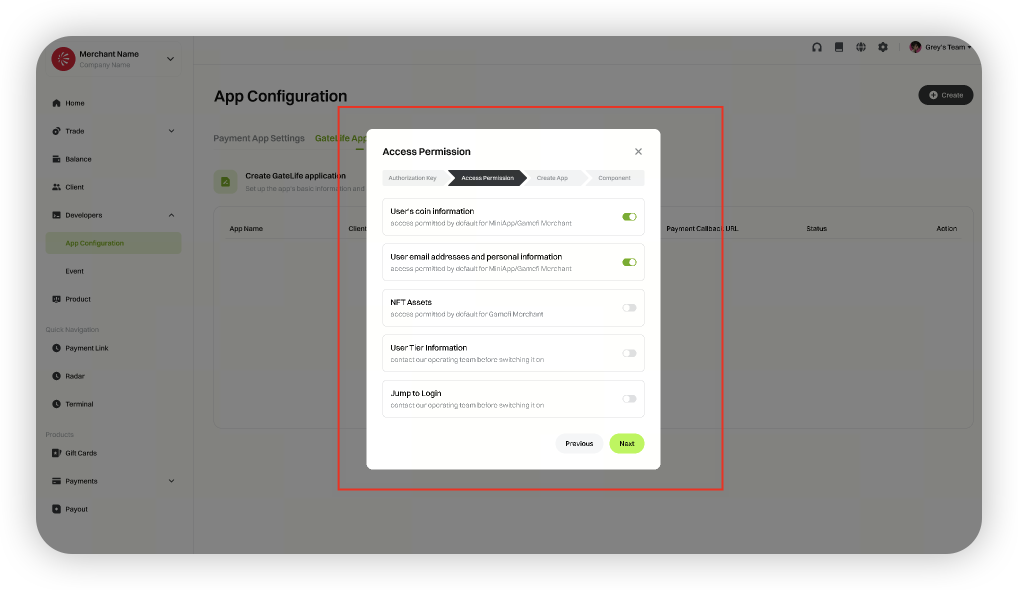
 **Apply for permissions as required.**
Permissions are set by default and cannot be changed.
**Apply for permissions as required.**
Permissions are set by default and cannot be changed.
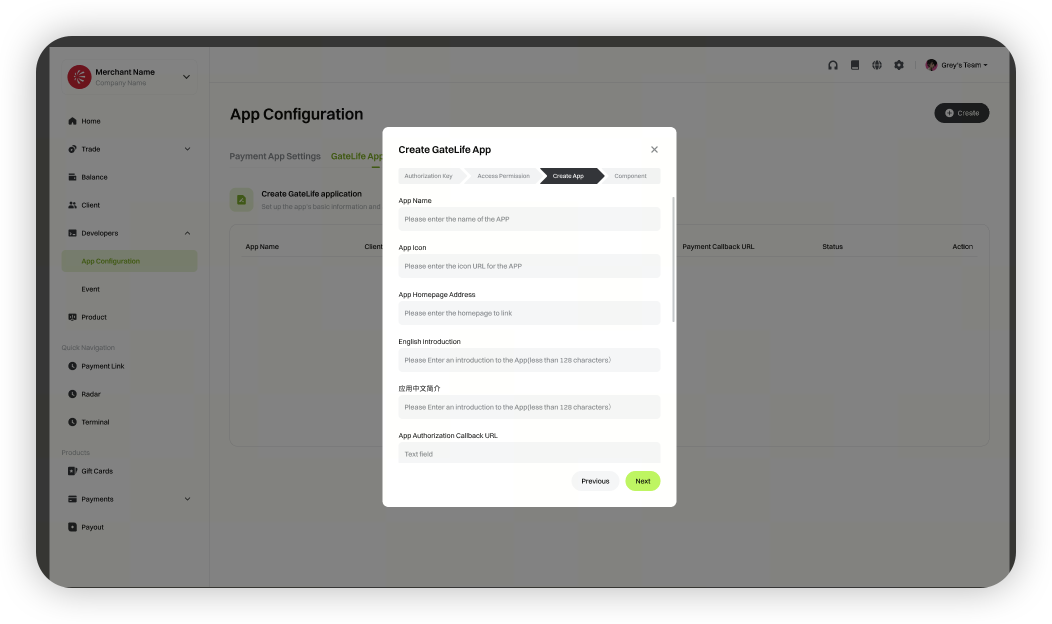
Fill in the information to create the application.
The details you submit will be displayed on the frontend page.
Note: When registering as a merchant, add your developer’s UID to the whitelist. This allows testing of authorization login in the production environment.
Whitelist UID format (comma-separated, no spaces): UID1,UID2,UID3,…
After adding the UIDs to the whitelist, you can use a whitelisted UID account to log in to the Gate App. You will see your merchant mini-program in the Pay App application list. You may proceed with authorization testing.
Step 4. Authorization login integration: Please refer to the API documentation for authorization login integration and testing (using the authorization key and client ID1):
https://www.gate.com/docs/miniapp/manual/en/
Step 5. Payment feature integration: Please refer to the API documentation for payment integration and testing (using the payment key and client ID2): https://www.gate.com/docs/miniapp/manual/en/
Step 6. After completing payment integration, delete the application associated with test client_id2. Deploy the code for client_id1—which has passed all required tests—on your own server (replace client_id2 with client_id1). Apply for your App to go live in the Merchant Dashboard. All subsequent authorization and payment operations will use client_id1.
The content provided herein is for reference and educational purposes only and does not constitute any financial, investment, trading, or legal advice, nor does it constitute an offer or solicitation to buy or sell any digital assets. Gate makes no express or implied representations or warranties regarding the accuracy, completeness, or timeliness of the information contained herein. Product features, interfaces, rules, and fee structures may be updated or adjusted at any time. Please refer to the latest announcements and the actual information displayed on the Gate platform for the most accurate details.
Digital asset investments involve significant risk, and prices may fluctuate substantially. You may lose the entire amount of your investment. Please make decisions cautiously based on your own financial situation and risk tolerance after fully understanding the associated risks. If necessary, you are advised to consult an independent professional financial or legal advisor.
For more information about potential risks, please refer to Gate's Risk Disclosure and User Agreement.
